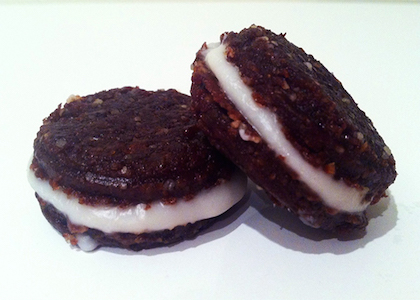
Smart Sweet: “Cream” Filled Chocolate Cookies
By Jamie Webber
Open package, remove Oreo, dunk into a nice cold glass of milk. Repeat. Does that sound familiar? It sure does to me! When I was little (and by little I mean 5 years old to college student) I would continue the “Repeat” step countless times and next thing I know, a whole sleeve of Oreos…in my belly!
Well, I know I can’t and shouldn’t do that anymore. However, I still want to enjoy an Oreo from time to time. So like most of the Smart Sweet recipes that I’ve shared with you, I was on a mission to create a healthier version of one of my favorite cookies.
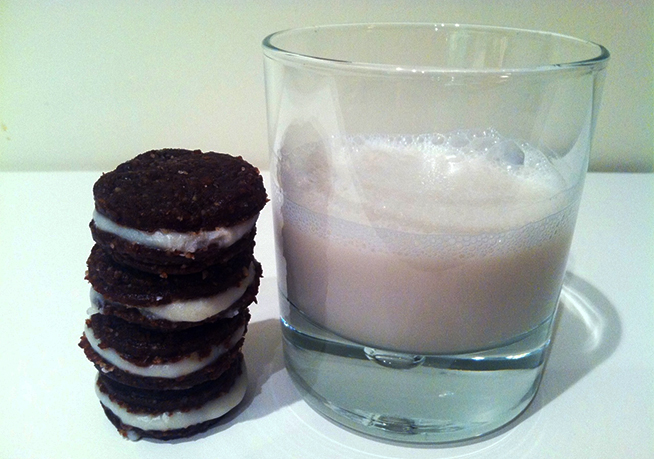
In comes the raw version of “Cream” Filled Chocolate Cookies. And ohhhh let me tell you, they are delicious.
Here is the step by step process to help you make these easily at home too!
Thank you to Chocolate Covered Katie for inspiring me to make these!
Ingredients
- 1 cup (115 g) walnuts (cashews would probably work too)
- 1 1/4 cup (175 g) pitted dates
- 1 tsp pure vanilla extract
- 1/4 cup (25 g) cacao powder
- 1/4 tsp Himalayan Salt, plus a little more to sprinkle on at the end
- 13 1/2 tsp of coconut butter (each cookie will receive about a 1/2 teaspoon) OR make your own cream (it just won’t be as white like a real Oreo’s cream but will still be delicious. You can make the same cream that I made for the Cadbury “Creme” Eggs”. I tried both and loved them equally the same.)
Directions
- Combine walnuts, dates, vanilla extract, cacao powder and salt into food processor. Process until mixture forms a fine crumble.
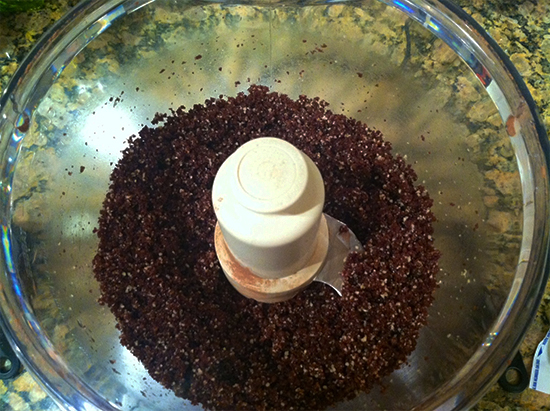
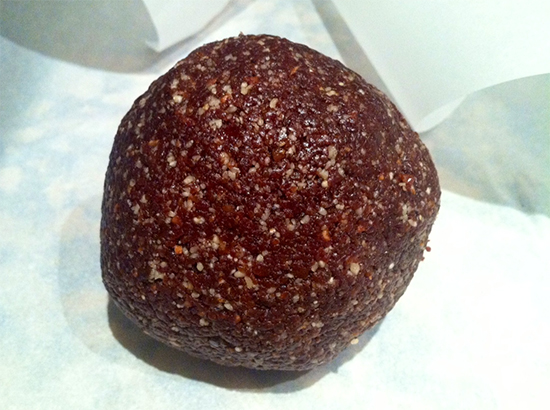
- Roll cookie dough into a large ball and place on parchment paper. TIP: You can use saran/plastic wrap to help you since it will be rather sticky.
- Use rolling pin or your hands to flatten out the dough into the desired thickness of your cookie. Mine were about 1/8 inch.
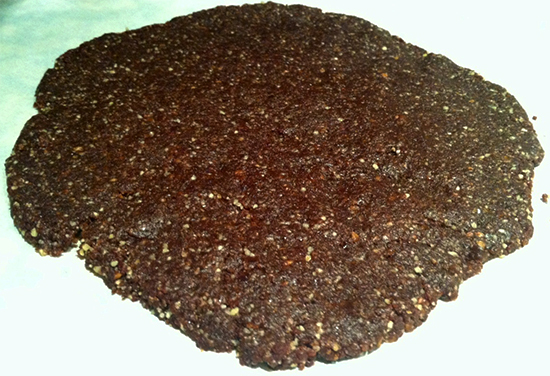
- Use round cookie cutter to make your cookie shapes. (I didn’t have a cookie cutter on hand so I found a bottle cap that was about the size I wanted the cookies to be – about 1 inch – and just used that to form the shape.)
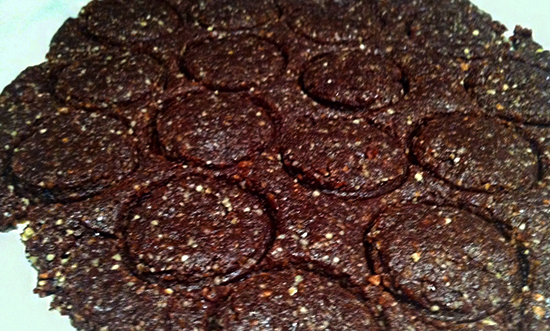
- Remove round cookies from the surrounding dough and use the leftover dough to make more cookies!
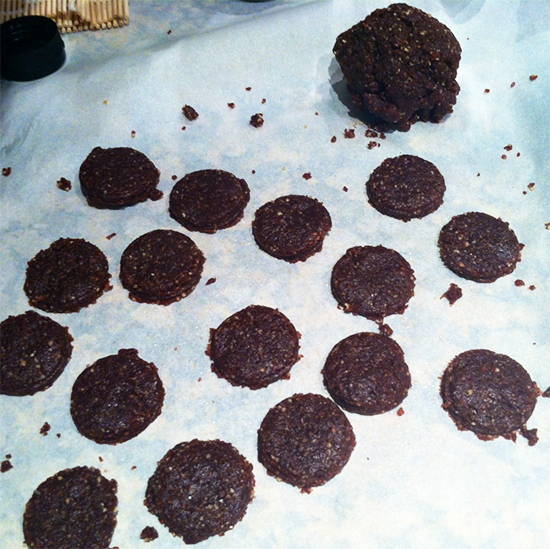
- Place round cookies in freezer to let harden so it’s easier to put the “cream” on. Once they are hardened it’s also easier to remove any pieces sticking off like you see in the image above.
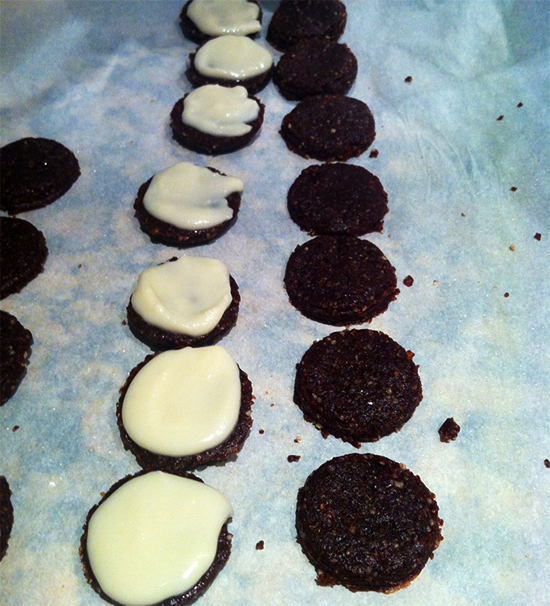
- Lay cookies out on parchment paper in an orderly fashion and start to place about a 1/2 teaspoon of “cream” on each. I used coconut butter for most of mine but also experimented with my homemade “cream”. I loved the way both tasted but my homemade “cream” made it a little sweeter.
- Place the other side of the cookie on top of the cookie with the “cream” to make your Oreo complete. Sprinkle a little Himalayan salt on top if desired. You may want to put them back in the freezer for 15 minutes to let them harden again before serving. If you don’t eat them right away then store in the fridge or freezer.
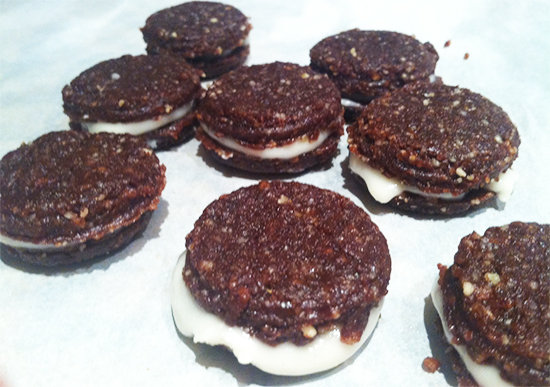
- Serve with a cold glass of Homemade Almond Milk and you’ll be one happy camper (like I was last night when I made them!).
Prep Time: 45 minutes
Total Time: 45 minutes
Servings: 13
Serving Size: 1 oreo
Calories: 160
Fat: 10g
Trans Fat: 1.5g
Cholesterol: 0mg
Sodium: 0mg
Carbohydrates: 17g
Fiber: 4g
Sugars: 12g
Protein: 4g